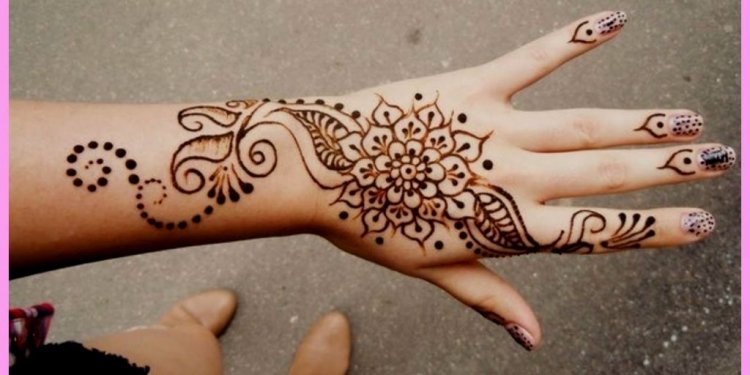
DIY Henna Tattoo Kit
 in the summertime our wardrobes often have simplified to just the basics, but with these fun henna motivated system Art Glitter Tattoo’s you are able to however then add enjoyable glow to whatever you wear. Also your teeny bikini are accessorized by using these sparkly tattoos! They’re awesome fun and fast doing, so let’s begin!
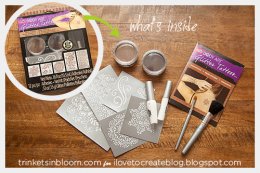
WHAT YOU NEED:
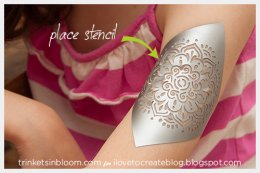
step 1
Determine in which you like to your tattoo.
 Peel the gold stencil off of the backing and place it where you are interested.
Make sure you smooth it so that it is flat on the skin.
As you care able to see within picture the stencils are sticky in order to use them on even a small supply or otherwise not so flat spot.
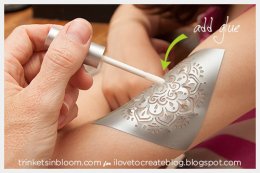
step two
Use the adhesive to fill-in the stencil in which you will put the sparkle.
This adhesive resembles the glue always attach untrue lashes, its cosmetic quality.
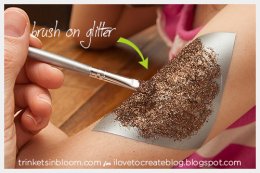
 step three
With the smaller brush add the glitter.
This system is henna encouraged so the two colors you will get in this kit are reddish browns, one less heavy and something darker nearer to a black colored.
step
Whenever you’ve included all glitter very carefully peel from the lime the stencil sticker.
It’s like peeling down a bandaid, but We don’t suggest doing it very fast only because associated with the small details when you look at the stencil you don’t want to rip it to make use of it again.
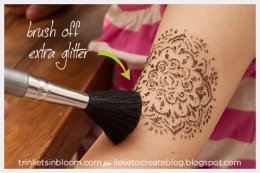
step 5
With the larger brush pull out any extra sparkle.
While these tattoos tend to be short-term they stay on for some days as long as you don’t scrub all of them with a clean fabric. But if required you are able to remove them with liquor.

Share this article
Related Posts


Latest Posts


